The day I nearly turned an ATU-100 into a paperweight reflashing its firmware for QRP
Buying a Chinese ATU is like opening Forrest Gump’s box of chocolates
Knockoffs of original products have been around since the dawn of time. You’ve probably owned a pair of “Nikee” socks or some “Calvin Kleen” underwear at some point. When it comes to tech, pretty much every device has its knockoff.
And the Chinese are true artists at this. They don’t just copy whole products like TVs or smartphones. They also clone individual components, mass-produce them, and get them to market before the original inventor even finishes patenting the idea.
Of course, none of this is remotely funny to the original manufacturers, who try to lock down their creations with all sorts of software protections. SDRplay, for example, works hard to keep its system from running on Chinese RSP1 clones. Prolific does the same with its drivers, so they won’t work with knockoff chips.
But today I want to tell you about the day I tried to reflash an ATU-100 and nearly ended up in tears over the keyboard.
The ATU-100: open source, cloned, and a real success story
The ATU-100, originally designed by N7DDC, is an open source project. So in this case the Chinese clones aren’t pirated: they’re entirely legal. Same as the (tr)uSDX clones from DL2MAN.
The tuner became popular for obvious reasons: compact, simple, reliable, effective and, above all, cheap. That’s led to multiple versions assembled by different Chinese manufacturers.
Buying one is like ordering tapas at a bar you’ve never been to. You never know if you’ll end up with a crooked board with orange relays and a blob of silicone, or something cleaner and tidier.
Mine turned out to be this one, one of the first popular models, the classic one with the big button in the middle, assembled by 深圳普拉泽电子科技有限公司, Shenzhen PuLaZe Electronics Co. Ltd, or as it appears silkscreened on their boards and products: sz-plz co ltd. I’d already tried other products of theirs, and they’re usually well built. This one was no exception: centred board, plastic mounts held with double-sided tape, a ferrite on the display cable, black relays, no toroids on the coils — I’ll give you that — but with decent soldering and the battery fixed to the top cover. Surprisingly clean.
I hook it up to the station and flip the power switch. The screen lights up. But the unit does nothing. No tuning. No response. Off to a great start.
I take the cover off, disconnect the battery, reconnect it, and now it seems to boot. It works fine with the 10m rig. But with a QRP rig putting out between 2 and 6 W, it doesn’t work at all. The ATU needs a minimum of 5 W to kick in.
“This is a 5-minute fix” (not in my case)
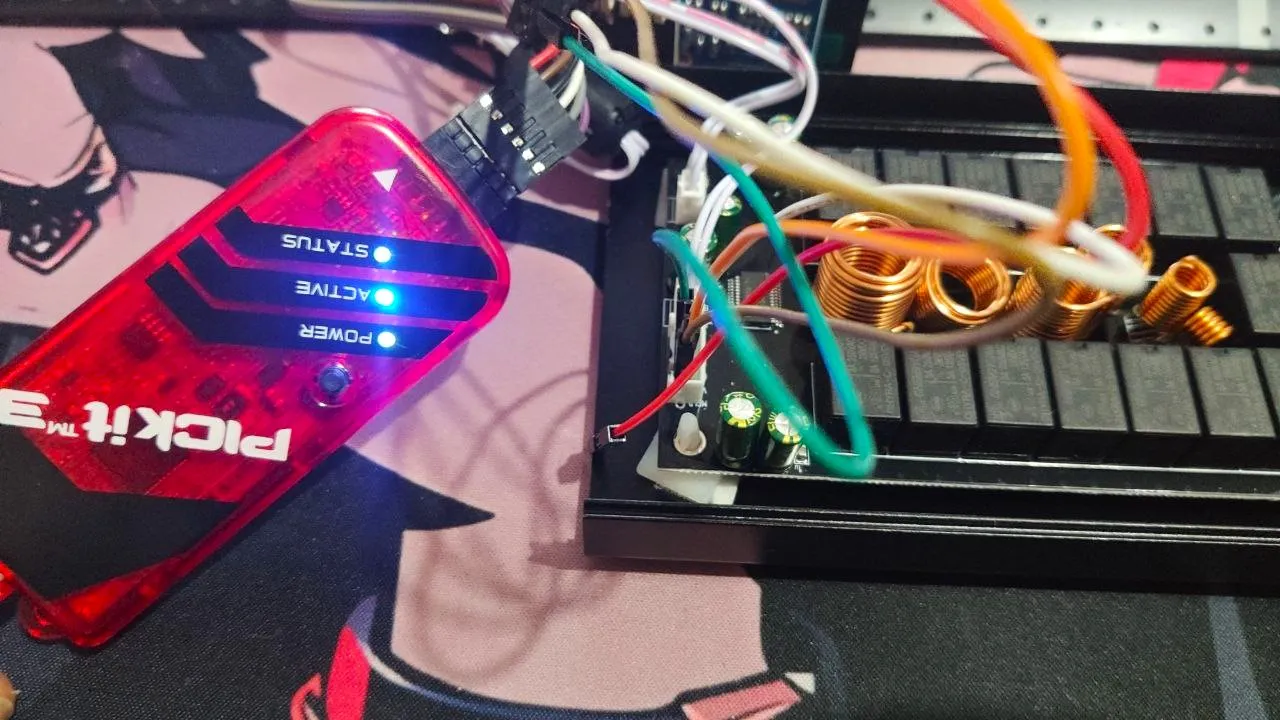
To use the ATU-100 with QRP, you need to modify the firmware. It’s not rocket science, and YouTube is full of tutorials explaining it: plug in the programmer, load the firmware, change a couple of parameters, flash it, and off you go.
Ha!
Everything starts off fine: I use the Pickit 3, the programmer everyone uses in the videos — by the way, if you buy it through [this link] I’ll get a small commission at no extra cost to you, and you’ll be helping keep this site running. I disconnect the battery for safety, hook up the Dupont wires (4 female-female and one female-male, which I stick into the pad with no pin), and open the Pickit app.
I hit “Read” and…
ERROR.
Red messages everywhere. Some videos say it’s because the chip has read protection enabled. Not the case — you just need to disable “Code Protect” and “Enable Protect” from the Tools menu.
I do that. The message goes away. But the error still shows up when I try to read it.
Fine, whatever. I leave it for another time and put the ATU back together. After all, I haven’t flashed anything yet…
The black screen of death
Putting the unit back together, I run into the first real scare: the ATU won’t turn on any more. I press the switch, hear a relay click… but the screen stays black and it won’t tune when transmitting with the 10m rig.
At that point I’m looking at a very nice brick with an OLED screen. I roll up my sleeves and go back in.
I dig through more videos and forums, and find several fellow hams reporting something similar after trying to reflash the ATU-100 firmware for QRP without success. Some of them even swapped out the PIC chip, thinking it was dead.
And here you are, probably, if you landed on this article from Google. Don’t worry. There’s still hope.
The missing detail and the fix: voltage
I open the ATU back up, reconnect the programmer and try flashing it again. Error after error.
I download the original N7DDC firmware, load it into Pickit, try to write it. NOTHING.
I start going through the official Pickit 3 documentation, and then it hits me: I was powering the chip at 5V, when the ATU’s PIC actually runs at 3.3V.
With the battery disconnected during programming, the chip gets powered by the programmer itself. If you don’t set the correct voltage, you can fry it. In my case, thankfully, I didn’t quite manage to cook it. But it was close.
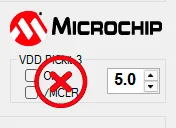
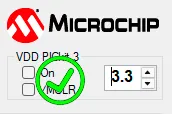
I change the voltage in the app. Try again. This time, it works. But without meaning to, I hit “Write” instead of “Read”… and flashed N7DDC’s firmware straight over it, without backing up the original first.
Total wipeout.
Not all clones are the same
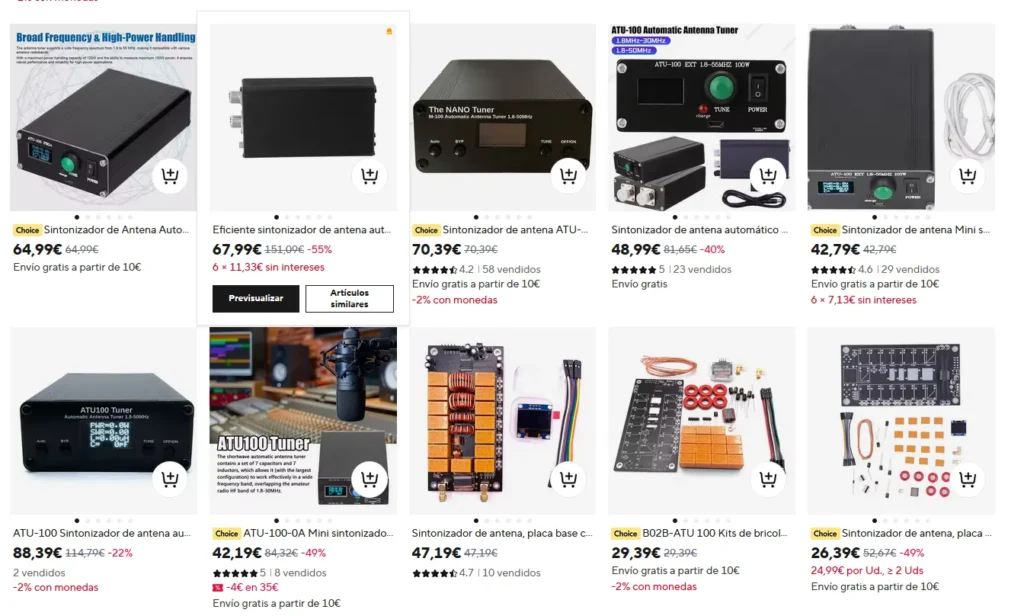
Even though they all start from the N7DDC design, each assembler adapts the firmware to their own hardware. Some change the display, some the pinout, some the TX behaviour…
So the generic firmware just didn’t work for me. No relay clicking. Black screen. Mission failed.
I start asking fellow hams for backups. Nothing. I download firmware files from all over the internet. None of them boot.
Until I find one: DG4SN‘s, specifically the ATU-100-EXT-YAF. Miracle: the unit turns on, tunes, works… but with some odd quirks.
- The screen is rotated 180º.
- In TX it shows the selected L and C relays in the middle of calculating power and efficiency.
It works, but not like before. And I wanted it just right.
How I ended up learning to compile in MPLAB just to flip the screen
I download the source code. Changing the screen orientation is easy. What takes longer is learning how to compile it with the MPLAB IDE .
Since I’m already knee-deep in it, I go ahead and add:
- Displaying the output power.
- Displaying efficiency, like the original firmware used to.
- And while I’m at it, swapping the welcome message for my name and callsign. Just for the fun of it.
Final tweaks and future plans
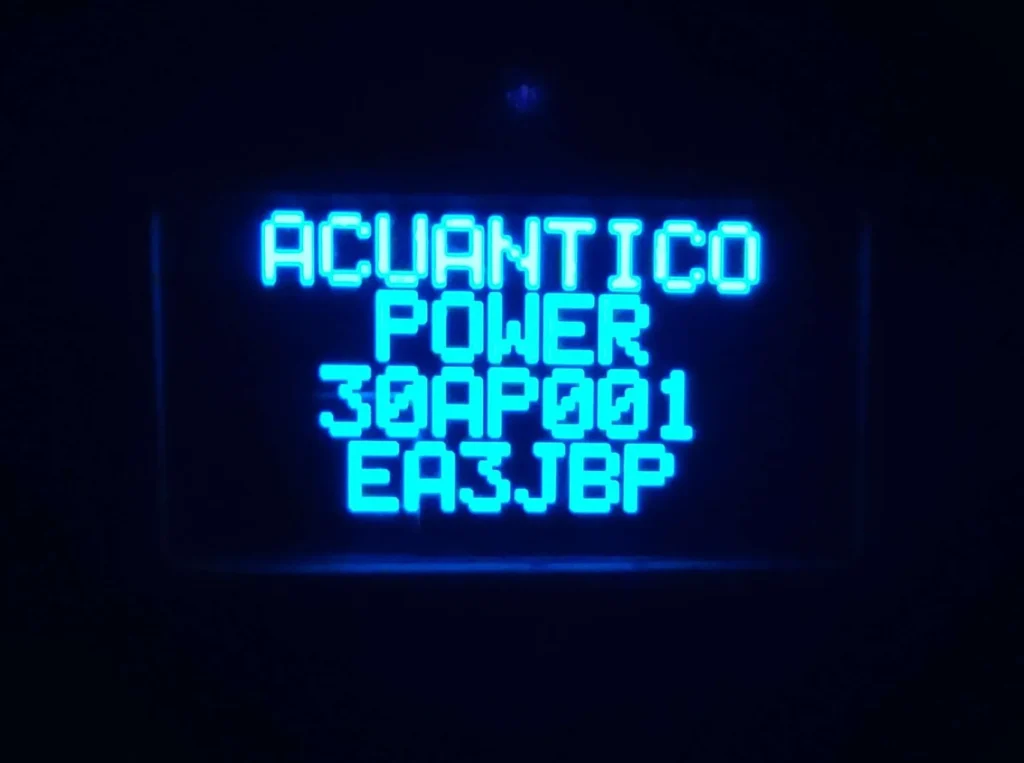
I also made the tweak to get it working from 1 W of power directly in the source code, much better than fiddling with hex values in the Pickit3 app.
Once flashed with the new firmware and put back together, I’m absolutely delighted with how it performs on QRP.
Right now the battery takes about 12 hours to charge and around 3 hours to drain.
With the charger plugged in, the ATU drops voltage and doesn’t work properly.
On top of that, the converter that steps down the USB’s 5V input dumps a lot of noise into the transceiver.
I’ll almost certainly make a power modification soon, so it can also run directly off 12V and not depend on the battery when using it at base or mobile.
Being a stubborn user
Today the ATU works perfectly with QRP rigs. And it’s all thanks to:
- Taking the time to actually understand what was going on.
- Not trusting YouTube tutorials 100% — every case is different. What works for them might not work for you.
- Reading the official documentation for the tools we’re using.
- And sharing the experience with others so they don’t trip over the same problem.
If you’re also trying to reflash your ATU-100 with a Pickit 3 and you’re on the verge of losing it, remember: you’re only a couple of volts away from making it good as new.